Please note: This website contains affiliate links. As an Amazon Associate, we earn from qualifying purchases at no additional cost to you.
If you’ve been craving cheesecake but don’t want to spend hours baking or stray from your healthy eating plan, these easy-peasy High Protein Cheesecake Jars are the perfect solution.
With a creamy, rich texture and customizable toppings, this recipe is simple, satisfying, and loaded with protein. They’re great for meal prep or an on-the-go treat that feels indulgent without the guilt.
PS: Don’t miss the tips at the end – we have some fun ideas on how to add more protein and/or make it a lower carb dessert.
Why You’ll Love this Protein-Packed Dessert Recipe
- Quick and Easy: This recipe requires no baking and minimal prep time, making it perfect for busy schedules or when you’re short on time.
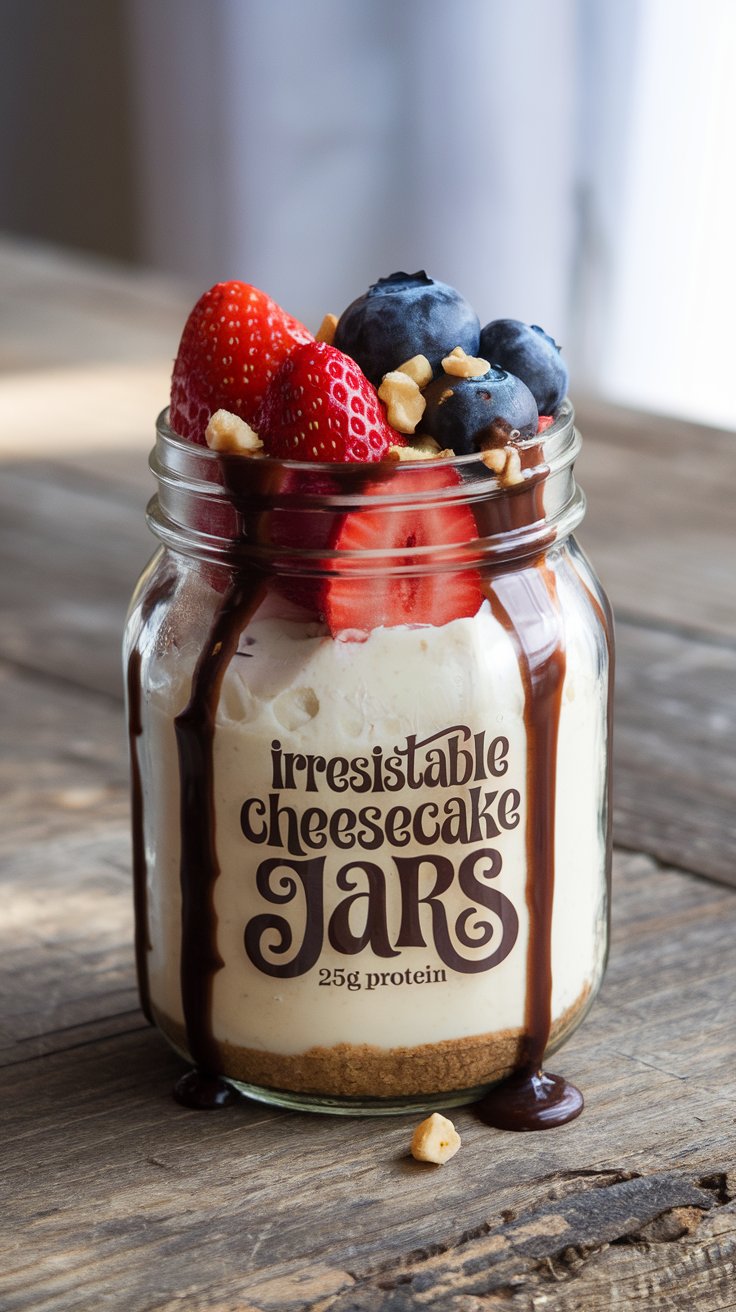
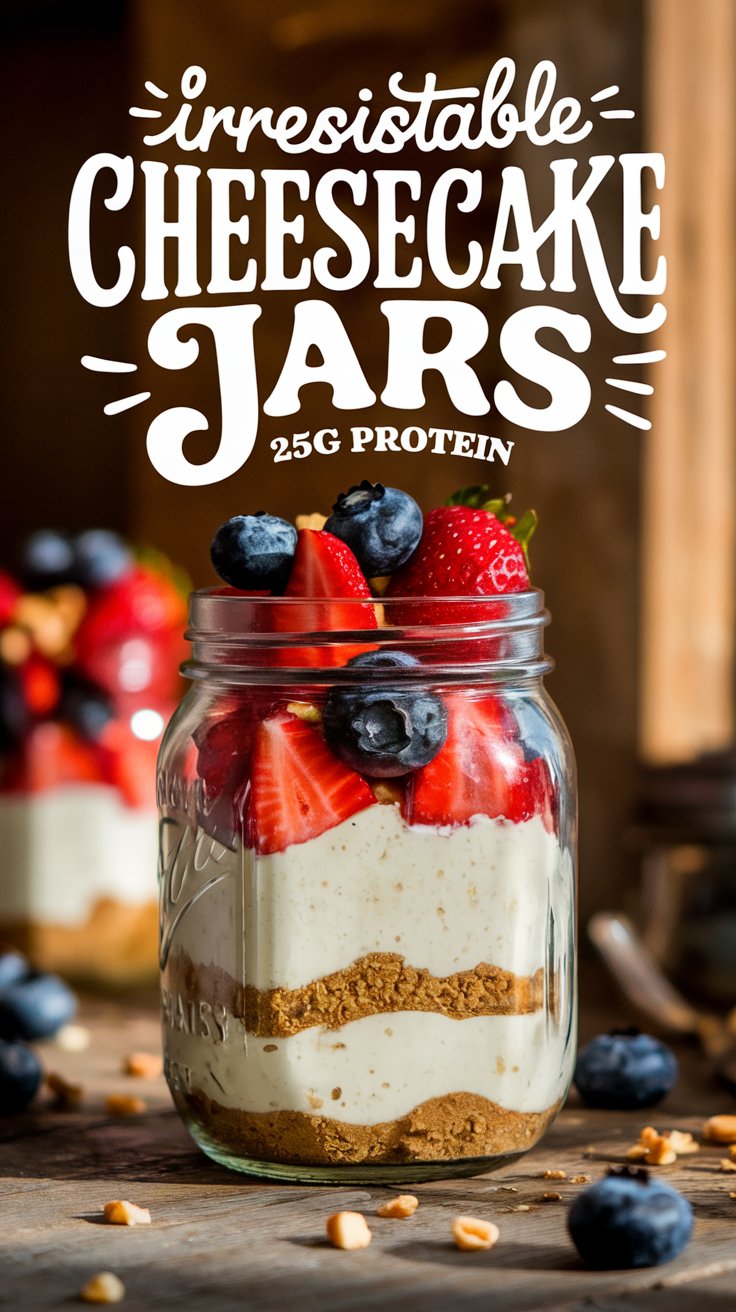
- High in Protein: With around 25 grams of protein per jar, these cheesecake jars are an excellent way to boost your daily protein intake while enjoying a sweet treat.
- Customizable: You can personalize the toppings to suit your taste preferences, whether you want fresh berries, nuts, or a drizzle of sugar-free syrup.
- Healthy and Satisfying: Designed to satisfy your sweet tooth without straying from your healthy eating plan, these cheesecake jars are both indulgent and nutritious.
- Perfect for Meal Prep: These jars are great for preparing in advance. They can be stored in the refrigerator for up to four days, making them an easy grab-and-go snack or dessert.
- Beautiful Presentation: When served in clear jars, the layered look not only enhances the visual appeal but also makes them a hit for gatherings or social media sharing (because who doesn’t love create a Pinterest-worthy dessert??).
How to Make Your Cheesecake Jars
Ingredients (Makes 4 Servings)
For the Cheesecake Base:
- 1 cup plain non-fat Greek yogurt (~20g protein)
- 1/2 cup low-fat cream cheese (~10g protein)
- 2 scoops vanilla whey protein powder (~50g protein)
- 2 tbsp honey or sweetener of choice
- 1 tsp vanilla extract
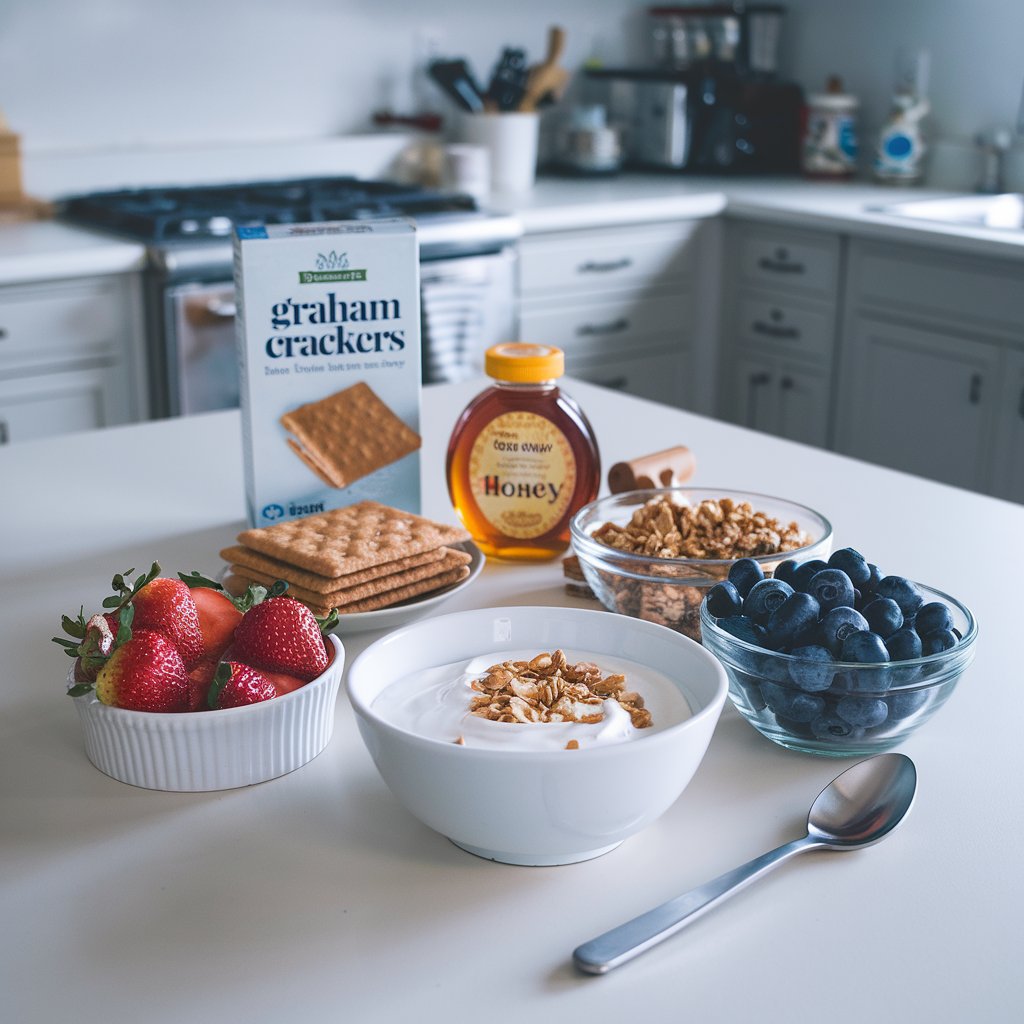
For the Crust Layer:
- 1/2 cup graham cracker crumbs
- 1 tbsp melted coconut oil
Optional Toppings:
- Fresh fruit (strawberries, blueberries, or raspberries)
- Crushed nuts or granola
- Sugar-free chocolate syrup or caramel drizzle
Nutrition Information per Jar (including crust, excluding toppings):
- Calories: ~250
- Protein: ~25g
- Carbohydrates: ~15g
- Fat: ~7g
Instructions
- Prepare the Cheesecake Mixture:
In a mixing bowl, combine Greek yogurt, cream cheese, protein powder, honey, and vanilla extract. Beat with a hand mixer or whisk until smooth and creamy. Set aside. - Make the Crust:
In a small bowl, mix the graham cracker crumbs with melted coconut oil until the texture resembles wet sand. - Assemble the Jars:
- Spoon about 2 tablespoons of the graham cracker mixture into the bottom of each jar or small serving cup.
- Press down gently to create a crust layer.
- Evenly divide the cheesecake mixture among the jars, spooning it over the crust. Smooth the tops with the back of a spoon.
- Chill the Jars:
Cover each jar with a lid or plastic wrap and refrigerate for at least 2 hours, or until set. - Add Toppings:
Before serving, top each jar with fresh fruit, crushed nuts, or a drizzle of sugar-free syrup for added flavor and texture.
Tips for the Best Cheesecake Jars
- Boost the Protein:
- Add an extra scoop of protein powder to the cheesecake mixture (adjust almond milk or yogurt to maintain consistency).
- Use high-protein Greek yogurt brands that offer up to 20g protein per cup.
- Swap graham cracker crumbs for crushed protein bars or high-protein granola in the crust layer.
- Stir a tablespoon of powdered peanut butter into the cheesecake base for an additional protein kick and a nutty flavor.
- Make It Lower Carb: Replace graham cracker crumbs with almond flour or crushed keto-friendly cookies for a low-carb crust.
- Add a Tangy Twist: Squeeze in a bit of lemon juice or add a teaspoon of lemon zest to the cheesecake mixture for a zesty flavor.
- Storage: These jars can be stored in the refrigerator for up to 4 days. Keep toppings separate if meal prepping to maintain freshness.
- Presentation: Serve in clear jars or glasses to show off the layers and make them extra Instagram-worthy!
Please note: This website contains affiliate links. As an Amazon Associate, we earn from qualifying purchases at no additional cost to you.